Halftone Effect in GIMP: The Free Alternative to Photoshop's Color Halftone
GIMP's answer to Photoshop's Color Halftone is the Newsprint filter. Here is where it is, what each Screen mode does, and which settings matter.
01/ ARTICLE
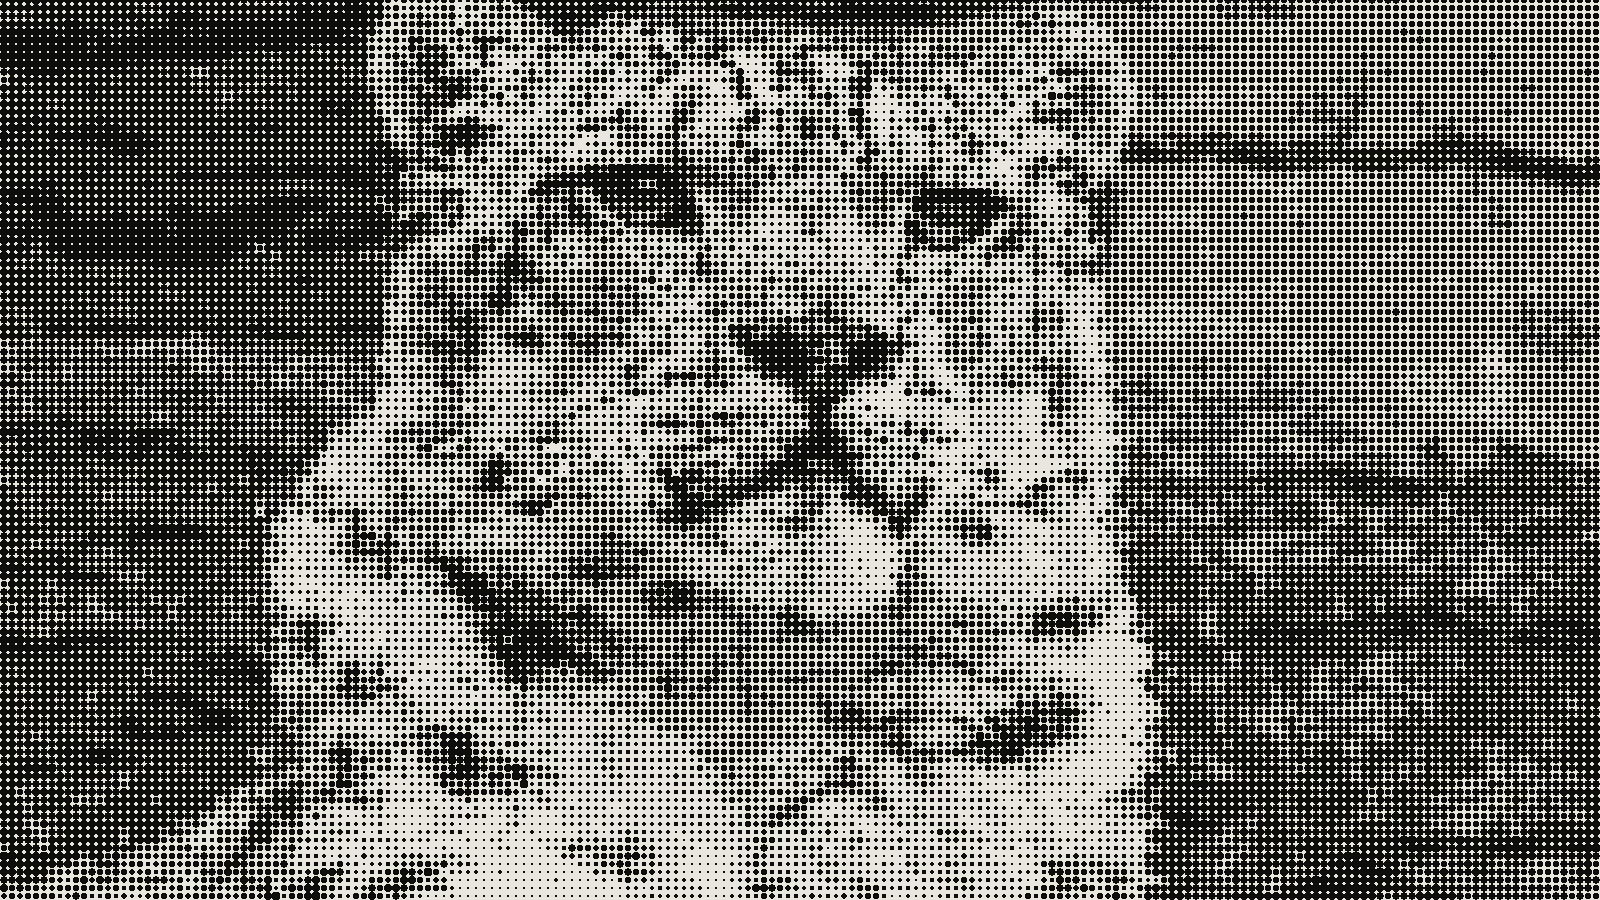 subject: snow leopard · look: halftone · cell 8px · angle 45° · shape circle · Image made with kott.io
Where is the halftone filter in GIMP?
GIMP's halftone filter is Newsprint, found at Filters > Distorts > Newsprint. It is the free counterpart to Photoshop's Color Halftone: it turns a continuous-tone image into a grid of dots whose size follows brightness. If you are still sorting out how that differs from error-diffusion, read the difference between halftone and dithering first, or see dithering an image in GIMP for the other filter family.
The GIMP 2.10 manual groups the dialog into a few controls. Resolution sets the size of a dot cell, either through Input SPI (the image's samples per inch, filled in automatically) and Output LPI (the lines per inch you want), or by typing a Cell size in pixels. The manual says you will most often set the cell size directly, so start there.
The rest sits under Screen, Angle and Spot function, plus two quality controls: Antialiasing and Oversample. The manual gives no numeric defaults or ranges for these, so the values in this article are things to try on your own image, not published recommendations.
Which Screen mode should you pick: RGB, CMYK or Intensity?
Screen changes the look more than any other setting. The manual defines three modes.
| Screen mode | What it does | Use it when |
|---|---|---|
| RGB | No colour space conversion; the dot screen is applied to the image as it stands | You want a quick coloured dot texture and do not care about print inks |
| CMYK | Halftones each colour channel separately, then recombines them into RGB | You want the classic four-colour comic or newspaper look |
| Intensity | Halftones a grayscale version and uses the result as the alpha channel | You want black dots that you can recolour or drop over a background |
Intensity is the mode to reach for if you want a flat, recolourable dot layer. Because the result is alpha, you can fill the layer with any colour underneath and the dots take it on. A video walkthrough from Davies Media Design covers the same idea, recolouring the dots and the background after the halftone is made.
CMYK mode adds one extra control, Black pullout (%), which sets how much K (black) is used when the RGB image is converted to CMYK. Lock channels applies any change you make to every channel at once, so untick it only when you want per-channel angles or spot shapes. If you want to compare against another app's built-in version, Affinity Photo's halftone filter is the closest in spirit.
Why do screen angles matter in CMYK mode?
When four dot screens overlap, the grids interfere. Wikipedia's halftone article notes that stacking screens can cause a moire pattern and exaggerated edges, and that rotating the screens relative to each other reduces both. With standard angles the overlapping dots form small circles, usually called rosettes.
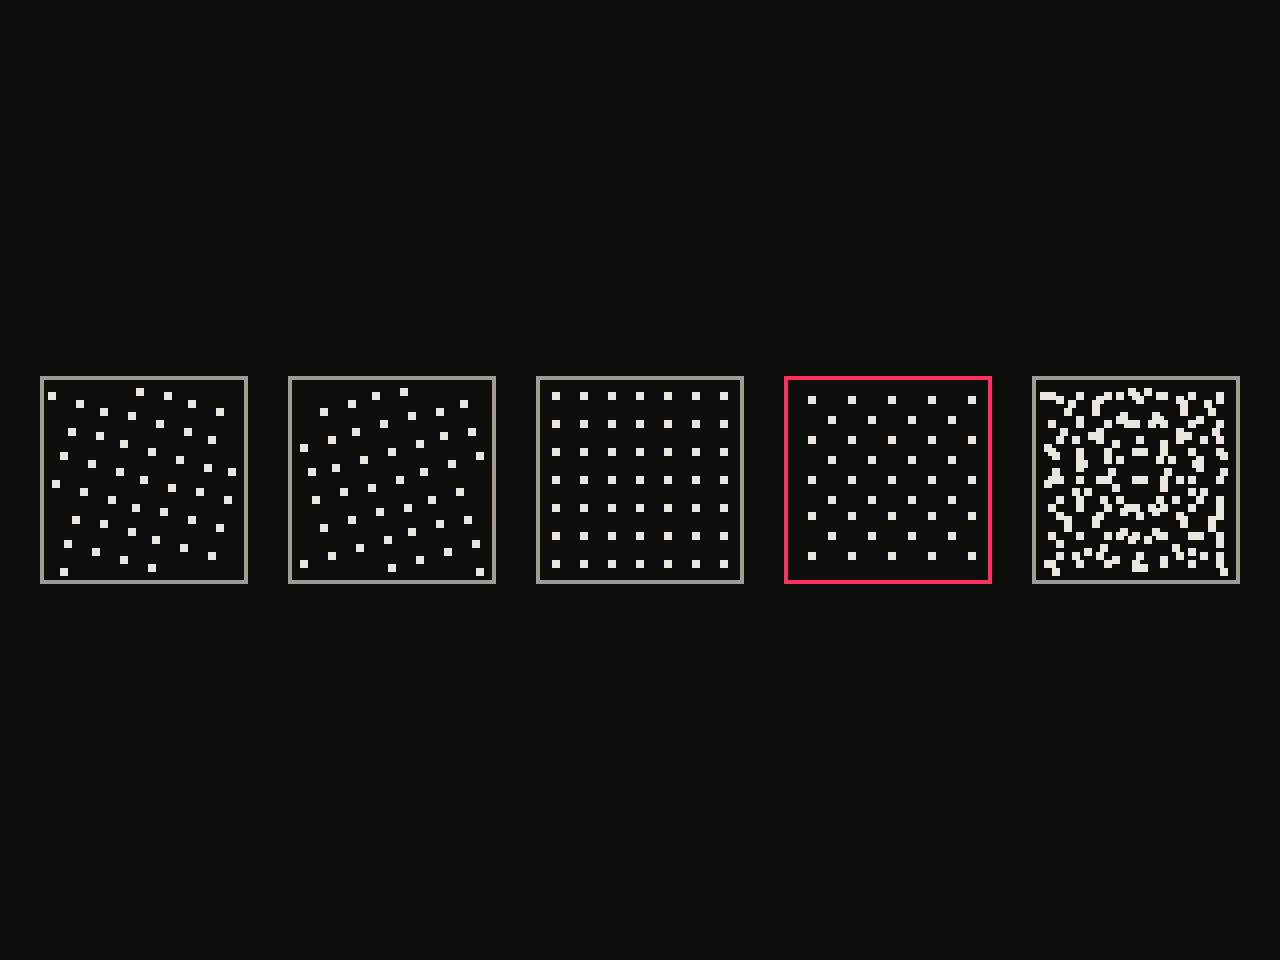 diagram · halftone screens at 15°, 75°, 0°, 45° and their overlay (last panel); outlined: the 45° screen · seed 118003
In Newsprint, Angle is set per channel, and Spot function sets the dot shape per channel, previewed in the cell boxes of the dialog. So the practical rule is: in CMYK mode, leave Lock channels off and give each channel a different angle. If you give every channel the same angle, the dots stack on top of each other and the colours go muddy and dim instead of forming rosettes. Wikipedia makes the same point about angles chosen to avoid patterns and overlap that makes colours look dimmer.
The manual does not list recommended CMYK angles, and neither does the Wikipedia article in a full set, so pick angles that are clearly apart from each other, then zoom in to 100% and look for moire before you commit.
How do Antialiasing and Oversample change the result?
These two settings decide whether the dots look right on screen, in print, or both.
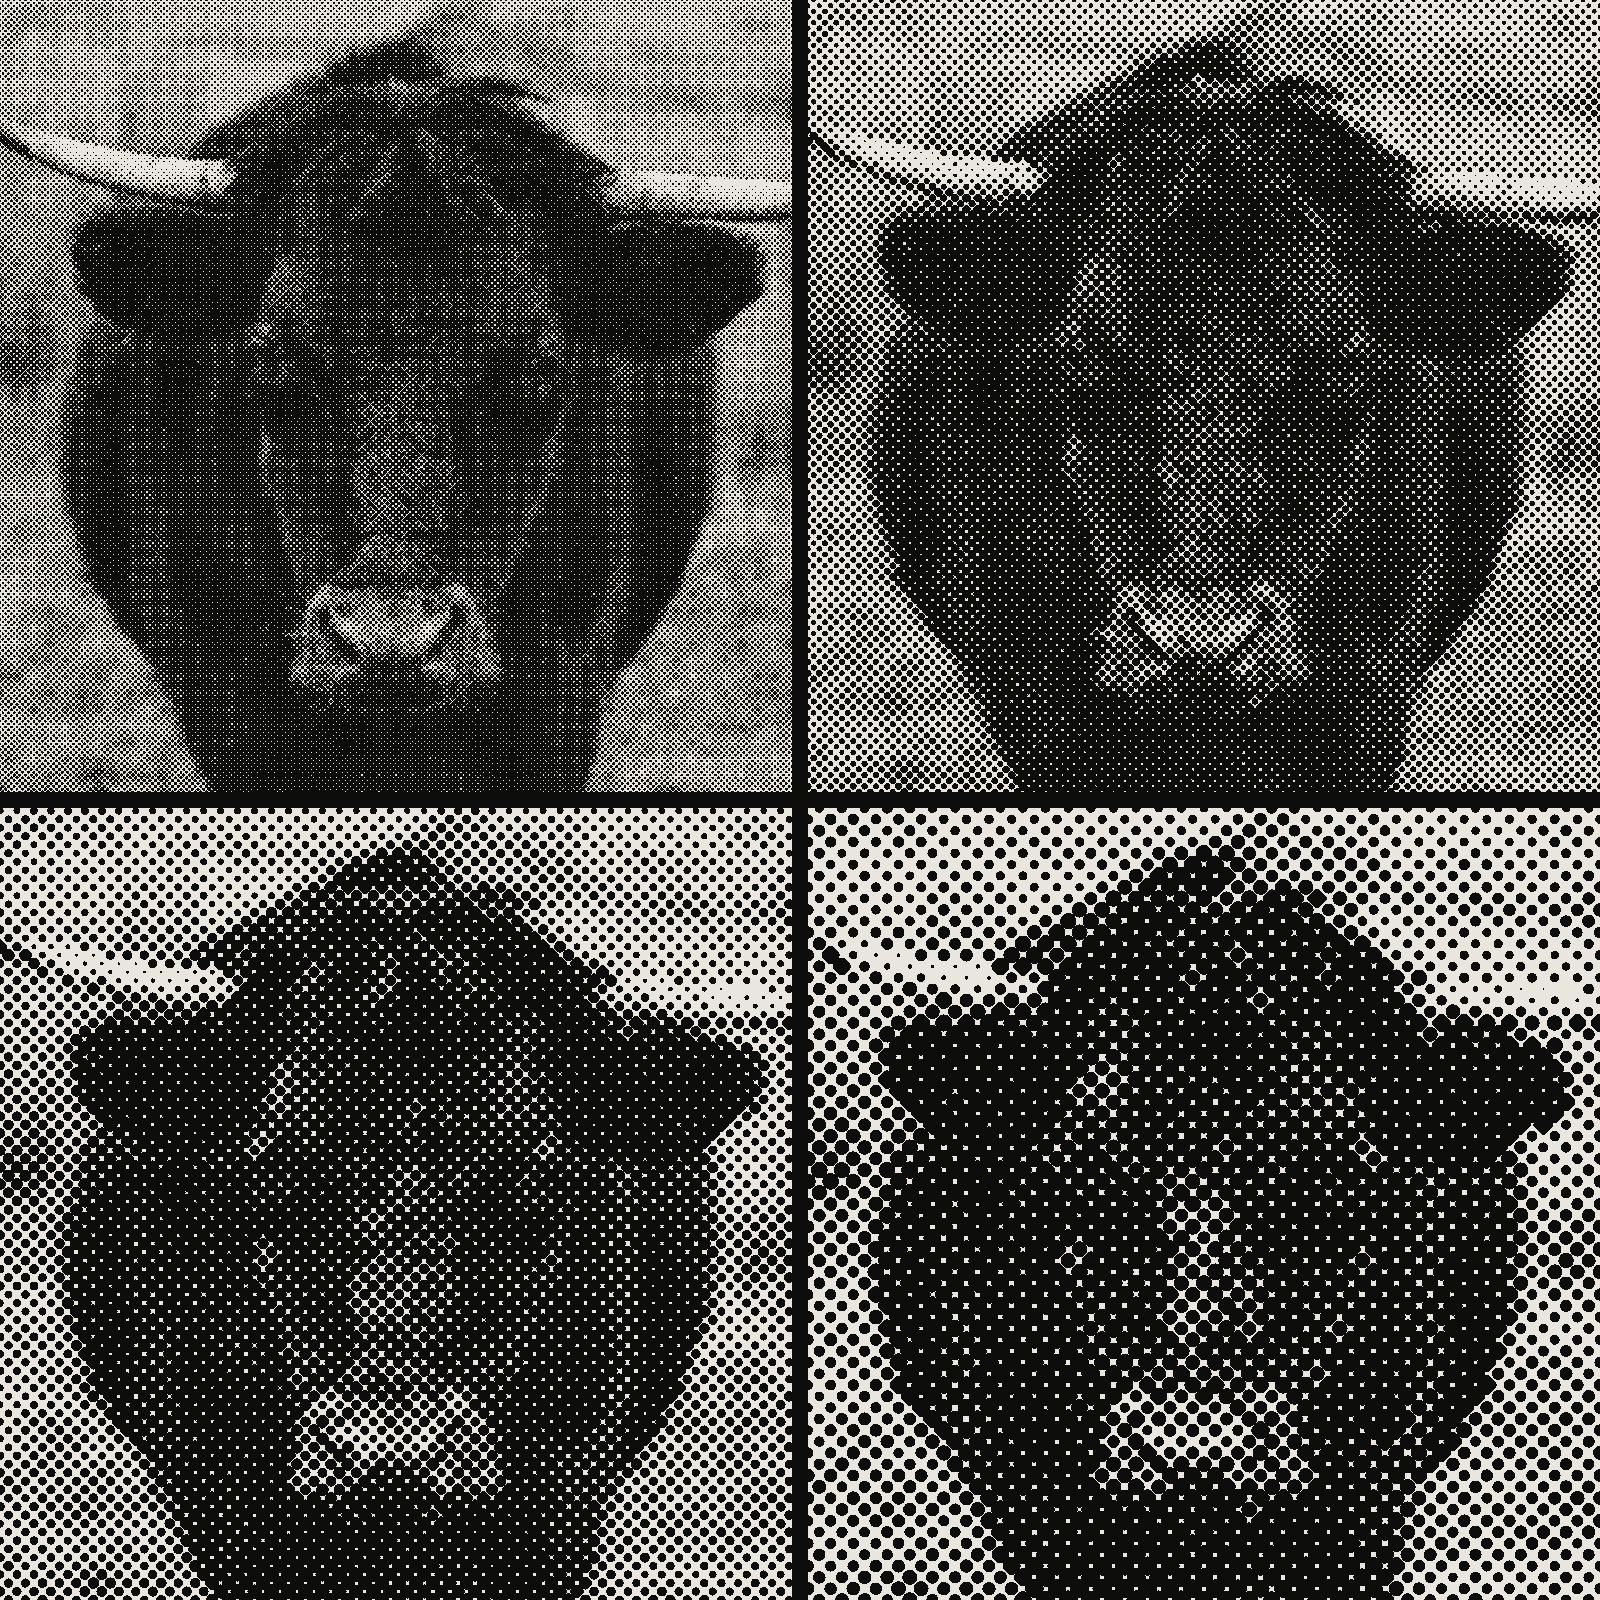 subject: bull · look: halftone · angle 0° · shape circle · reading order: cell 4px / cell 8px / cell 12px / cell 16px · Image made with kott.io
Antialiasing simulates ink smearing for viewing on a monitor. The manual says to set it to 1, which turns it off, if you plan to print. Leave it on and the dot edges soften. That's fine on a monitor and a problem on a plate or film output.
Oversample is the number of subpixels sampled per output pixel. A value of 1 disables it. The manual warns that large values greatly increase runtime, so raise it in small steps and keep Preview off on a slow machine. Preview, for a selection, only shows part of the image, so check the whole result after applying.
Cell size is the setting you will change most often, and it is a matter of taste against the output size. Larger cells give a coarser, more graphic dot. Smaller cells hold more detail but drift toward a plain gradient. For reference, Wikipedia lists typical lines-per-inch ranges (it flags the table as needing a citation): 85 lpi for offset newsprint and 45 to 65 lpi for screen printing. Lower lpi means larger cells, so a screen-printing job wants noticeably coarser dots than a newspaper one.
Where does kott fit in?
GIMP's Newsprint is free and good enough for a one-off, and it offers a CMYK-style screen with per-channel angles. What it does not give you is a quick way to compare cell sizes and angles on the same photo side by side. If you want to try several cell sizes and angles before you commit, kott studio lets you preview a halftone with the dot size and angle controls on your own image.
Frequently Asked Questions
Does GIMP have a Color Halftone filter like Photoshop?
GIMP's equivalent is Newsprint, at Filters > Distorts > Newsprint. Its CMYK Screen mode halftones each colour channel separately and recombines them into RGB, which is the same idea as a colour halftone. Do not expect pixel-identical output to Photoshop, because the controls and spot functions differ.
What cell size should I use in GIMP's Newsprint filter?
The manual says you will most often set cell size in pixels directly, and it gives no default. Treat it as your dot pitch: a larger cell gives a coarser, more visible dot. If you think in lines per inch, you can set Input SPI and Output LPI instead and let GIMP derive the cell size.
Why do my halftone dots look smeared or soft?
Antialiasing in Newsprint simulates ink smearing for viewing on screen. The manual says to set it to 1, which turns it off, if you plan to print.
Why is the Newsprint filter so slow?
Oversample sets how many subpixels are sampled per output pixel. A value of 1 disables it, and the manual warns that large values greatly increase runtime. Turn Preview off on a slow machine.
Images in this article were made with kott.io.
02/ OUT
Every setting described above is a real control. Open your own image and sweep it.
All journal entries